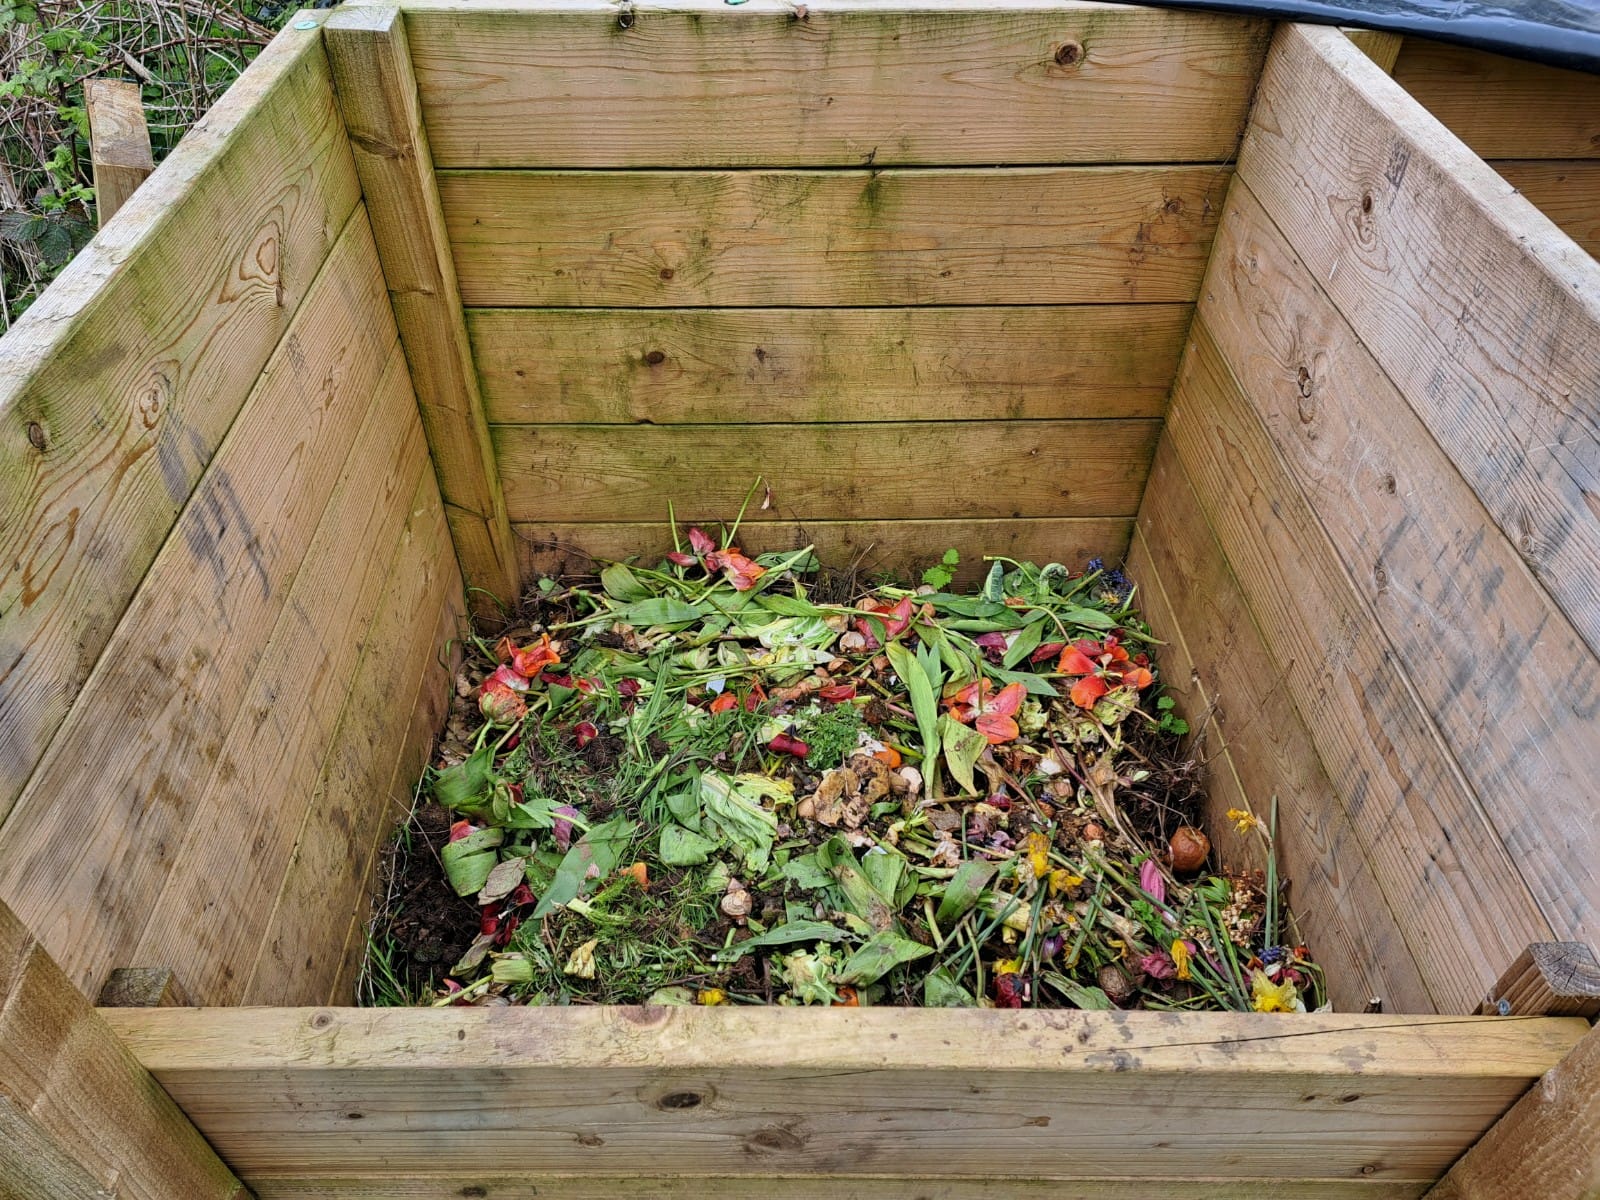
Creating healthy soil is one of the main principles of organic gardening. So why not make your own compost and be sure it is absolutely natural and pesticide-free? With these 5 steps we’ll guide you to the magical process of creating your own organic compost.
Step 1: Mix brown and green material
- Examples of brown material: dry leaves and twigs, straw, sawdust (from natural wood only) and wood chips. This material is carbon-rich and airy.
- Examples of green material: grass clippings, manure, fresh green garden waste and fresh kitchen waste. This material is nitrogen-rich and moist.
The green material in your compost heap mainly provides nutrients, the brown material gives structure to the compost. You may alternate these two types of material in layers, but mixing everything together is just as good. Many materials belong to both brown and green material as they contain a bit of each. For instance, farmyard manure will contain straw and manure and freshly chopped twigs from your hedge will contain fresh leaves and twigs. Most important: ensure variety of materials. Reduce, chop or cut your ingredients: then they will digest better. Pieces of no more than 10 cm are fine.
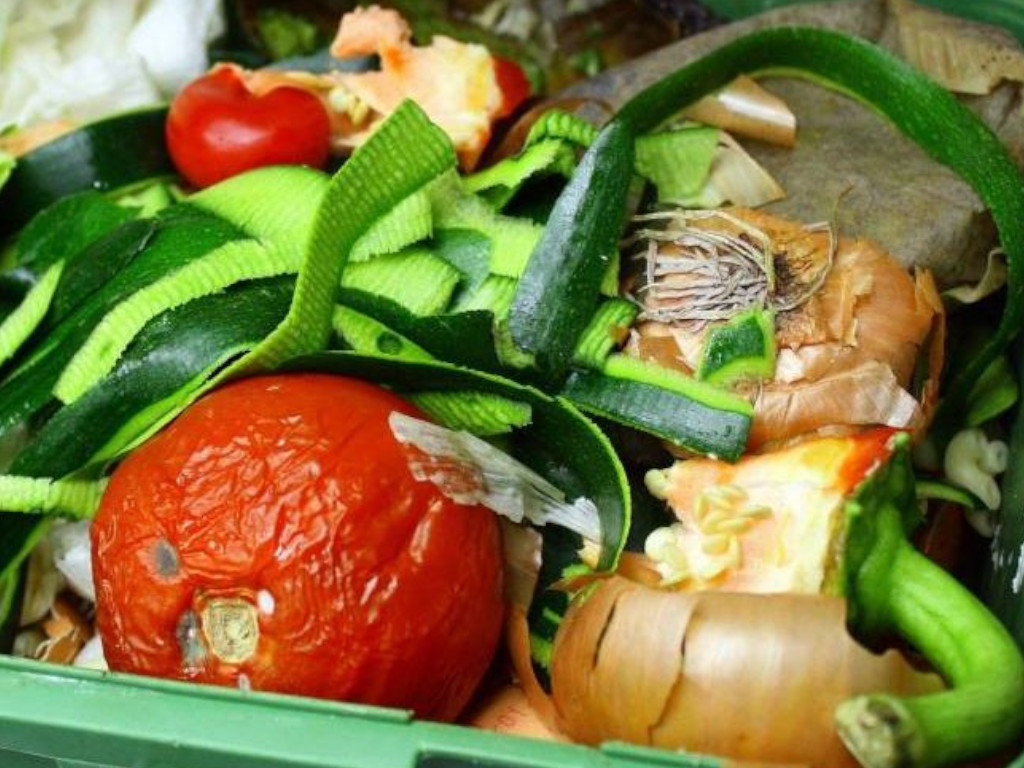
Green material: Kitchen waste
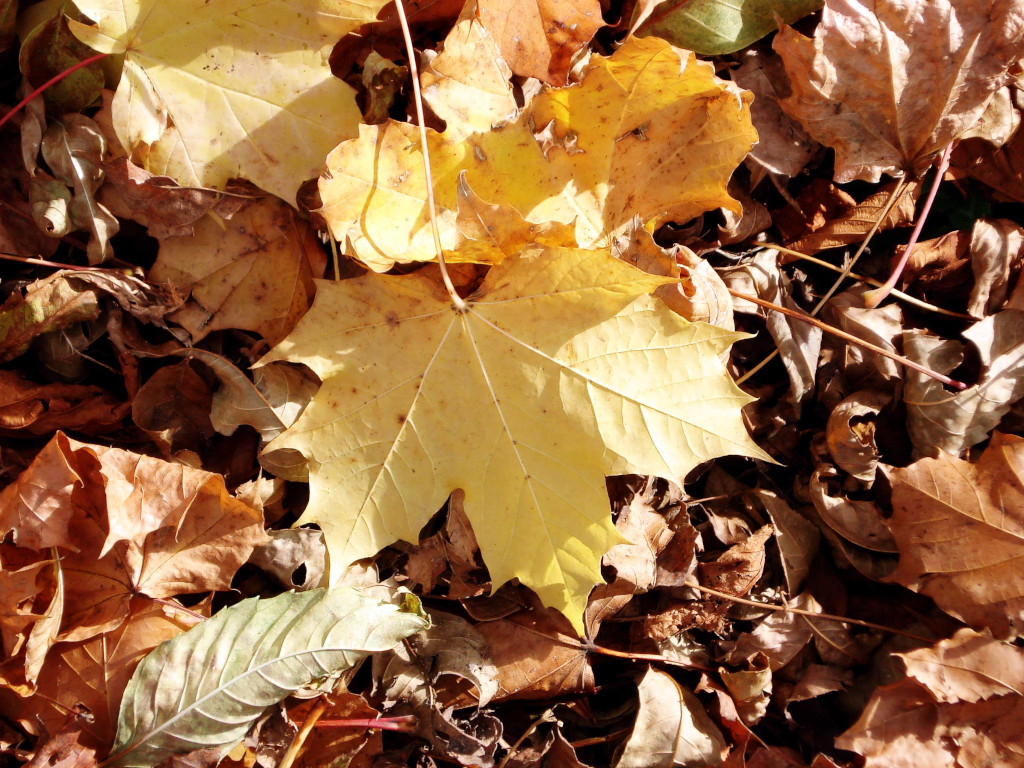
Brown material: Dried leaves
Do’s and Don’ts on the compost heap
Do’s: you may add lava and basalt meal at a few handfuls per m3. Bentonite too, if you have sandy soil. These products are very good for your compost worms and the clay humus complex they form. If you discover there are not so many worms, you could also buy some worms online to help you further.
Don’ts: cooked food waste, wood ash, soil, treated potato and citrus peelings. Don’t add lime either. Once recommended, lime has been shown to convert the nitrogen in your heap into ammonia, which then dissipates. So you lose precious nutrients, and you put a strain on the environment.
Step 2: Covering
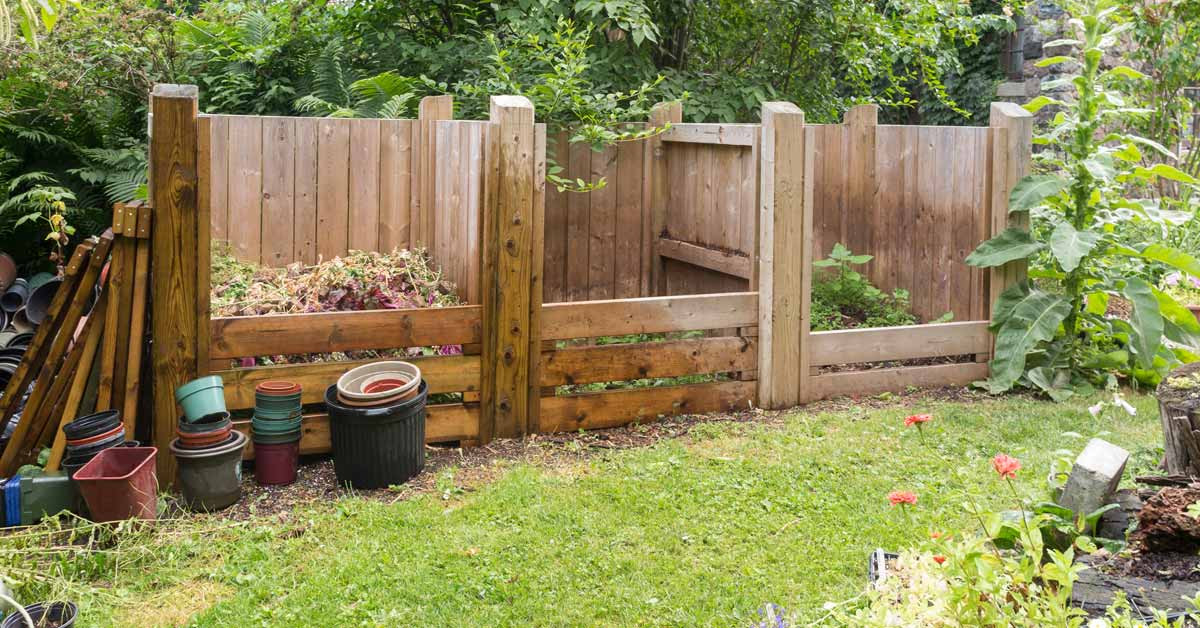
A bin with netting or large gaps in the walls (and no covering on top) dries out far too fast and cools down far too quickly for the thermophilic bacteria and all the other compost creatures to work properly. Give your compost heap walls and a roof to keep the moisture and heat in (e.g. with cardboard, jute bags, some plastic sheeting). Your compost heap will not suffocate as a result, as long as the material inside is airy enough.
Step 3: Wetting
Squeeze a handful of mixed compost material with your hands. If a few drops run out, it is moist enough. Otherwise, add more water.
Step 4: Make a big pile
A large compost heap will work better than a small one, as heat and moisture losses (at the edges) are more limited. One m3 is about the minimum volume: that mass composts better and faster than a few buckets of waste.
Throw small quantities of kitchen waste on a waiting pile (or in the chicken run) for the time being.
Always keep a supply of brown material separate, like leaves and twigs, wood chips, etc. If you have lots of fresh material (e.g. after mowing or pruning), set up a real heap. Mix the waiting heap and brown material with fresh material. Stack this mixture until you have a heap of at least one m3. Then you will get a good heap! Work together with your neighbours to create one big heap.
Step 5: Convert
After a month (or a bit longer), turn the whole heap over. Scoop everything all over with the rake, making sure that what was on the outside before is now inside the heap.
Is your heap too dry? Then add extra water. The better you apply these five principles, the better and faster your compost heap will brew.
What to do after converting?
Leave the heap covered. After six to nine months you will have mature organic compost.
What about the scalding heat?
A compost heap of one cubic metre can be used as a hotbed, especially in a greenhouse or glasshouse:
- Keep a close eye on the temperature.
- For example, you can sow tomatoes on your hotbed, in trays or pots.
- After a few weeks, the temperature drops and you need to replenish/convert again.
- It will take some work but you will also learn by doing.
Composting without scalding?
If you don’t have enough time, space or materials, this is how to process your garden and kitchen waste:
- As mulch
- In a worm bin
- In a compost bin: stir and aerate in it regularly.
- As feed for your chickens, pigs, rabbits etc.
- Or throw all your garden waste in a heap, cover it with a layer of soil and plant pumpkins on it in mid-May. After one or two years you will also have compost, but then usually coarser and with weed seeds.
More about Organic Compost
Organic compost is soil that has been enriched with organic matter, which is derived from plant and animal sources. Organic matter is essential for soil health because it contains nutrients that plants need to grow, including nitrogen, phosphorus, and potassium. Organic matter can improve the soil’s texture, structure, and water-holding capacity, making it easier for plant roots to penetrate and absorb water and nutrients.
Organic matter can come from a variety of sources, including manure, leaves, grass clippings, and other plant material. When added to soil, organic matter is broken down by microorganisms, which release nutrients and help create a healthy soil ecosystem.
Organic soil is often associated with organic gardening and farming, which prioritize using natural and sustainable practices to grow crops. Organic farmers may use techniques like crop rotation, cover cropping, and intercropping to build soil health and prevent the need for chemical fertilizers and pesticides.
In addition to its benefits for plant growth, organic soil is also important for environmental sustainability. Healthy soil can sequester carbon dioxide from the atmosphere, which can help mitigate the effects of climate change. Additionally, organic farming practices can help reduce pollution from synthetic fertilizers and pesticides and promote biodiversity on farms.
